Texture work runs in three directions, and most contractors only do one of them. We take it off, we put it on, and — the part that’s hardest — we match what’s already there so a repair stops being visible.
Removing texture
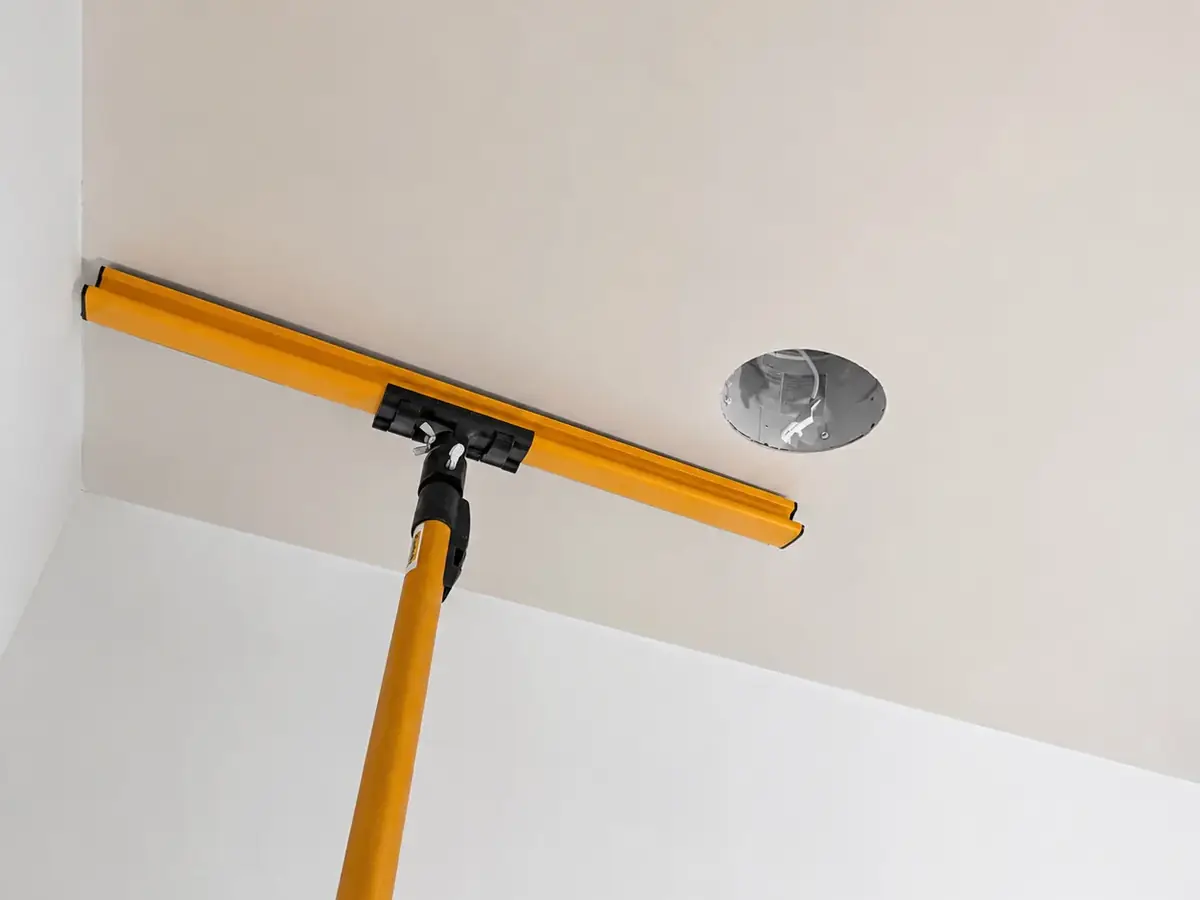
Heavy hand texture, popcorn ceilings, dated stipple. We strip it back to a sound substrate, skim-coat the surface and sand each pass until nothing of the old pattern telegraphs through the paint.
Popcorn ceilings: if the house was built before 1980, the ceiling gets tested by a lab before anything is scraped. Popcorn from that era can contain asbestos, and no honest contractor scrapes first and asks later. Testing is inexpensive; doing it in the wrong order is not.
Applying texture
Not every wall should be smooth. Texture hides minor movement, softens light and costs less than a full Level 5 skim. We spray and hand-apply the finishes people actually ask for:
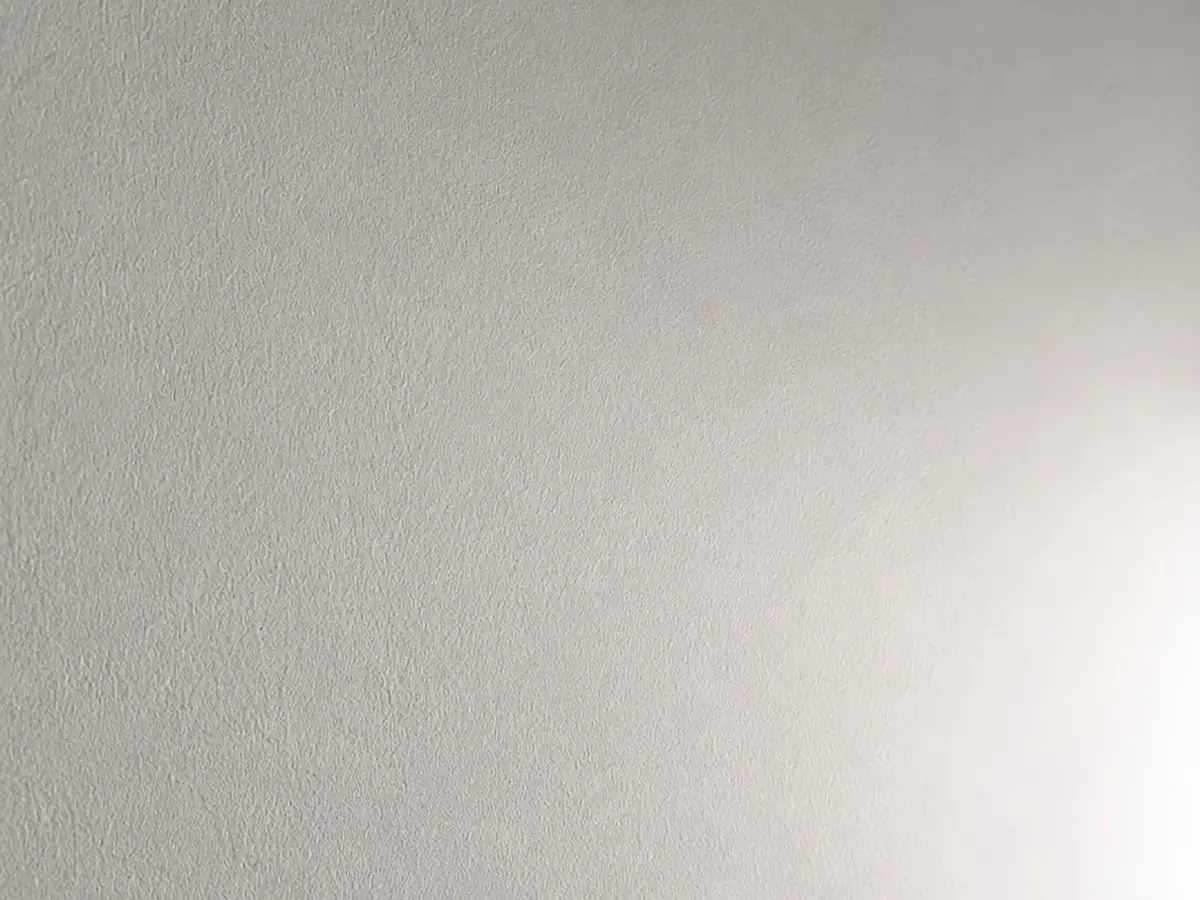
Orange peel — the default in most Bay Area homes. Sprayed, left unflattened. Light, medium or heavy depending on how much the wall needs to hide.
Knockdown — sprayed, left to set, then flattened with a knife. The timing is the whole job: too early and it smears, too late and it stays lumpy.
Skip trowel — applied by hand with a curved knife. Slower, more expensive, and the only one that reads as hand-made rather than sprayed.
Hand trowel and sand swirl — for rooms where a spray finish would look wrong, and for matching older houses that were finished by hand.
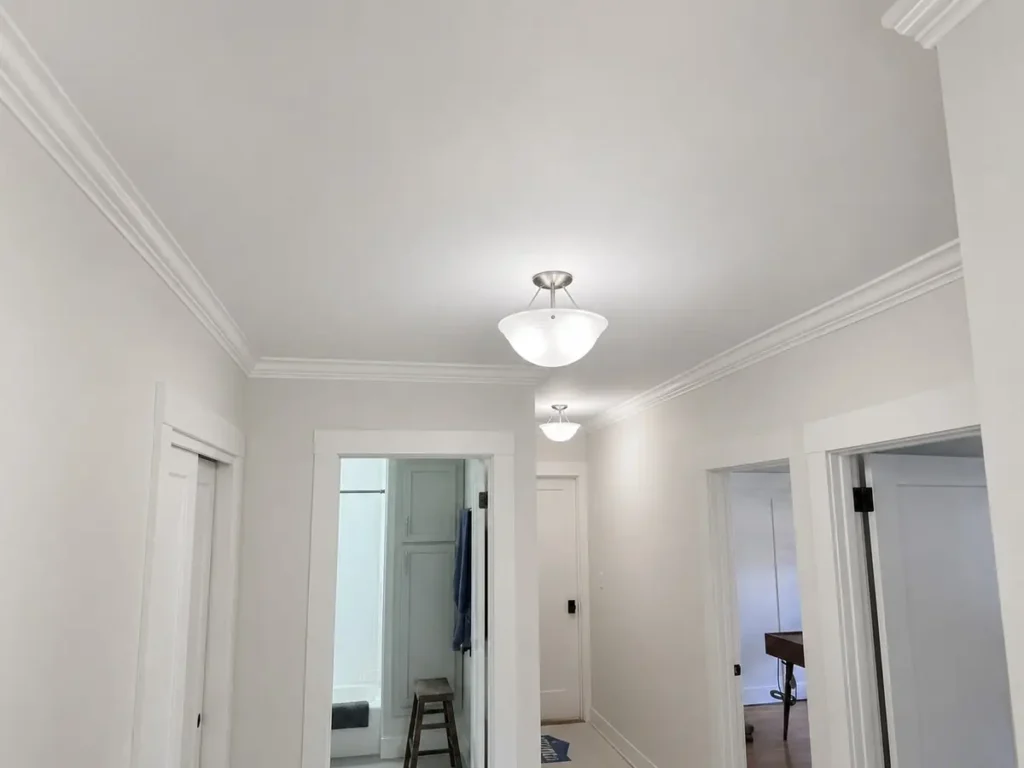
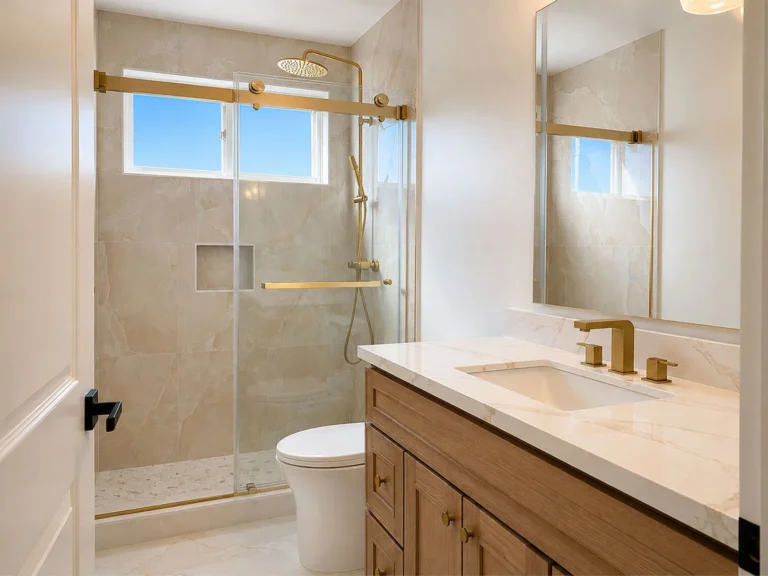
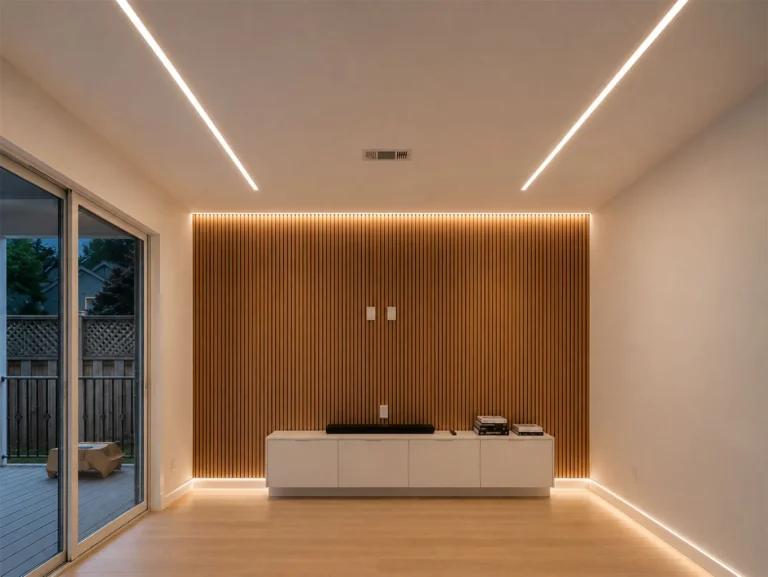
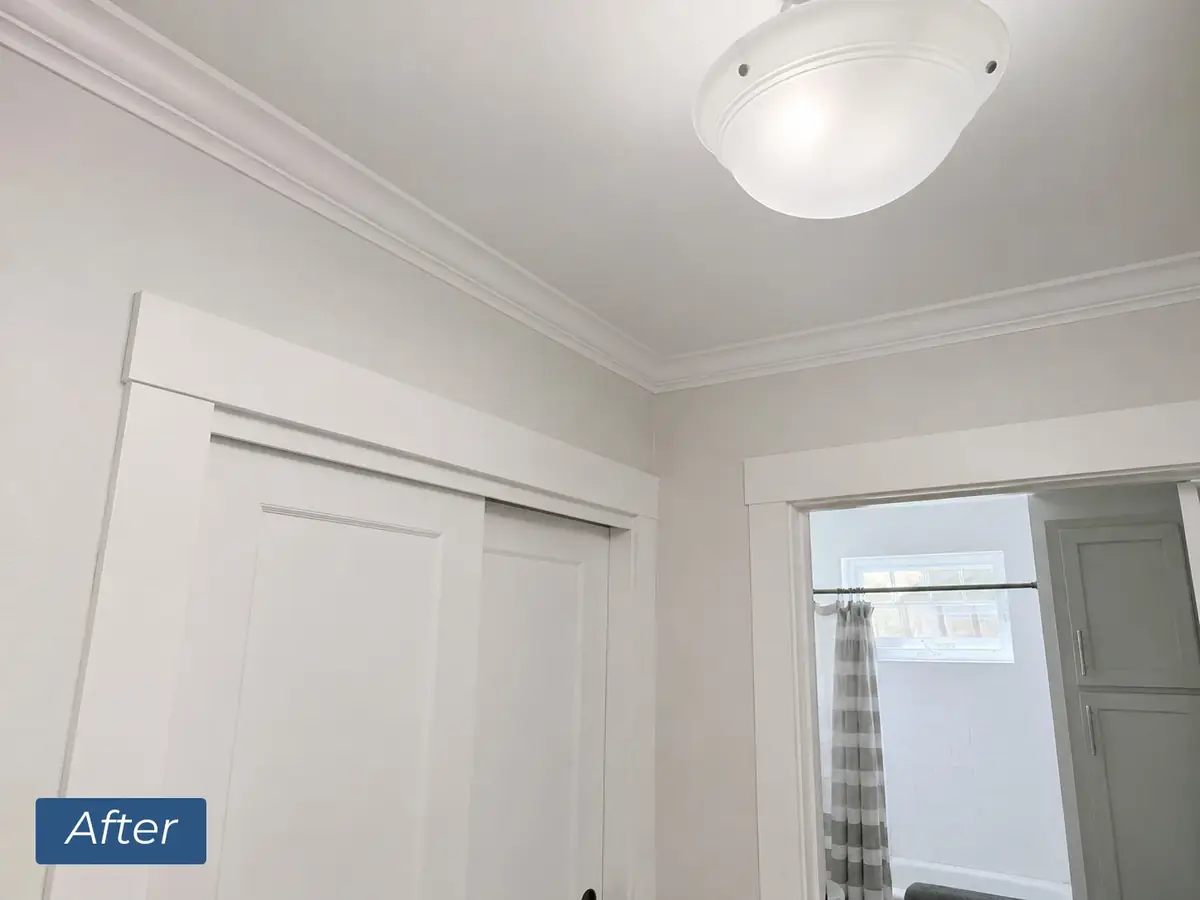
Smooth, Level 4 or 5 — no texture at all. See below for when that’s the right call.
Matching existing texture
This is the part people call us about after someone else has already been.
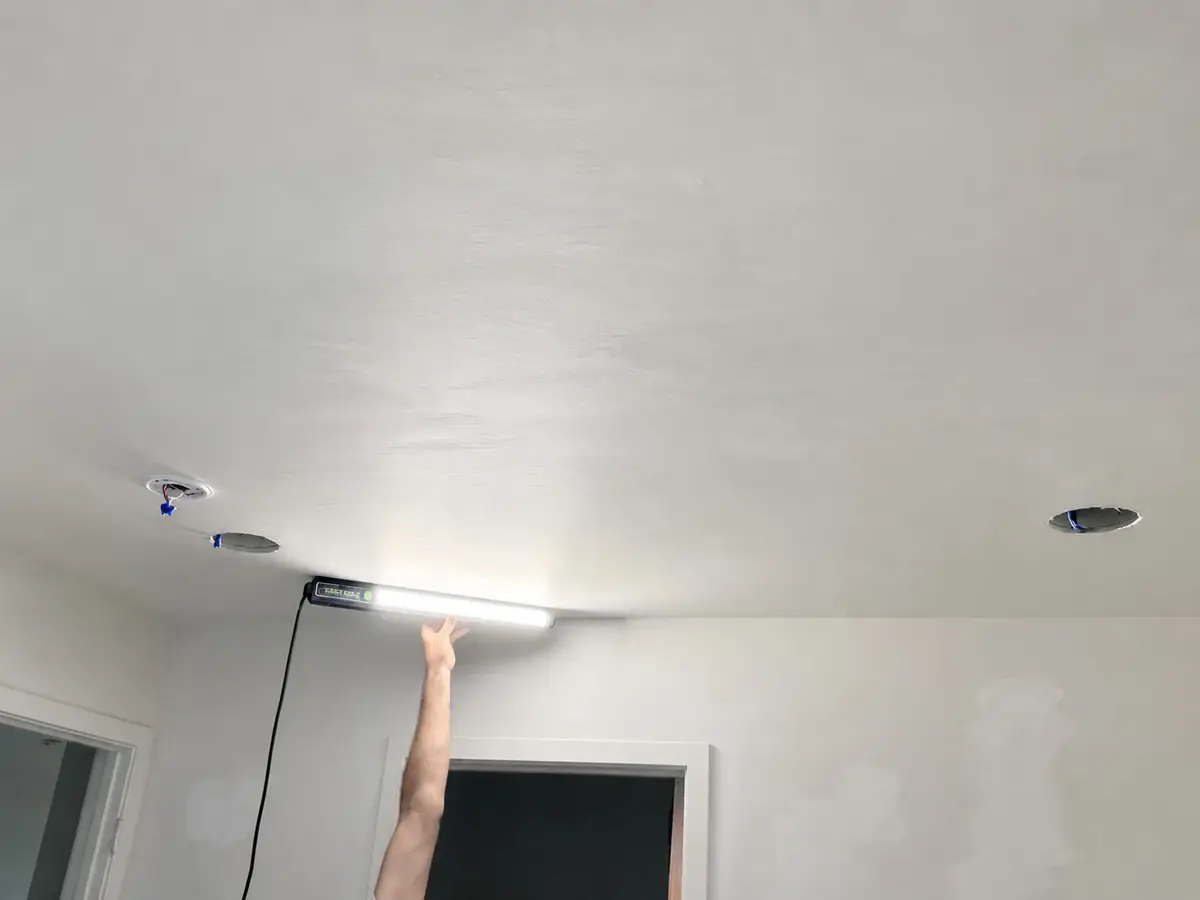
A patch that’s structurally perfect still looks wrong if the texture around it doesn’t match. The repair reads as a scar under raking light, and repainting the whole wall doesn’t fix it — it just makes the scar the same colour.
Matching means reading the original: what tool made it, how heavy the spray was, how hard it was knocked down, which direction the trowel travelled. Then reproducing that on a sample board before anything touches the wall. If the sample doesn’t disappear against the existing wall, we adjust and make another one.
Level 5: when you actually need it
Level 5 is a skim coat over the entire surface, not just the seams. It costs more and it isn’t always necessary. It is necessary when the paint is gloss or semi-gloss, when the colour is dark or saturated, when the wall is lit from the side or faces a large window, or when the finish is wallpaper or a decorative plaster that needs a perfect base.
Level 4 — seams and fasteners finished, surface left as it is — is the right choice for most walls under matte paint. We’ll tell you which one your project needs before you pay for the more expensive one.